Have you ever wanted to turn your drawn artwork into a digital animation? It’s easy with Kaiber SuperStudio. In this blog post, you will learn how to transform a line drawing into an animated visualization using Kaiber AI.
How to Use Kaiber AI to Transform Your Art into Animation
Prerequisites:
- Create a Kaiber account.
- A line drawing.
- (Optional) Canva or another image editing software.
- If you are new to Kaiber, check these YouTube Videos:
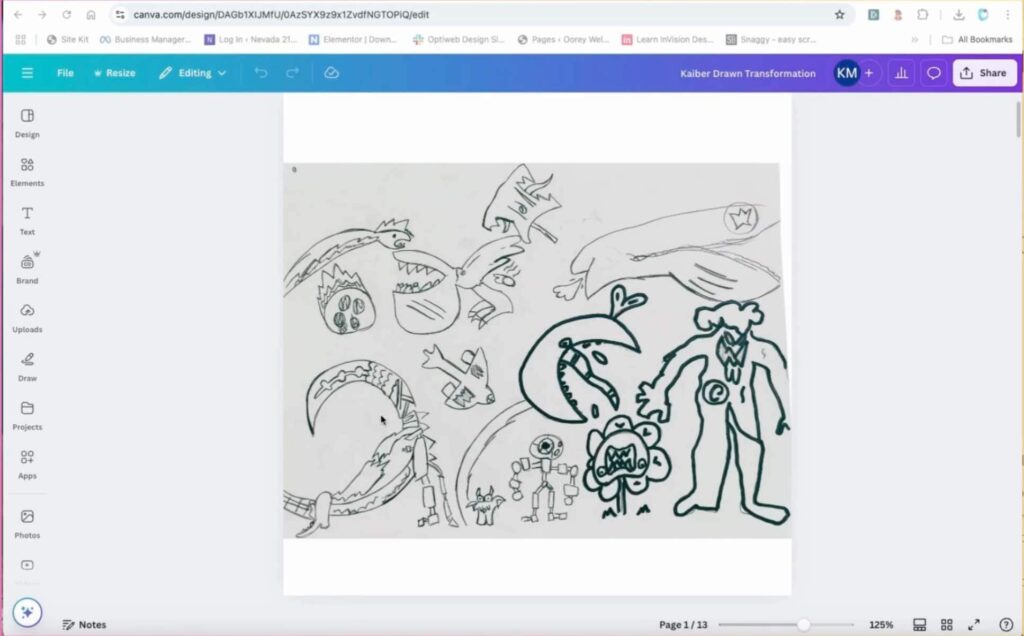
Step 1: Prepare Your Line Drawing
- Capture or Digitize Your Drawing:
- Take a clear photo of your line drawing.
- Enhance the Image (Optional):
- If your drawing’s lines are faint, use an image editing tool like Canva to enhance them.
- Adjust the brightness and contrast to make the lines clearly visible.
- The goal is to have a high-contrast image with clear lines.
- Export the Image:
- Save your enhanced image as a PNG or JPEG file.
Step 2: Access Kaiber SuperStudio
- Log in to Kaiber:
- Go to the Kaiber website and log in to your account.
- Navigate to SuperStudio:
- Open the Kaiber SuperStudio interface.
- Create a Canvas (If Necessary):
- Ensure that you have a canvas created within the superstudio.
Step 3: Upload Your Drawing
- Upload the Image:
- Upload your prepared line drawing image into Kaiber SuperStudio.
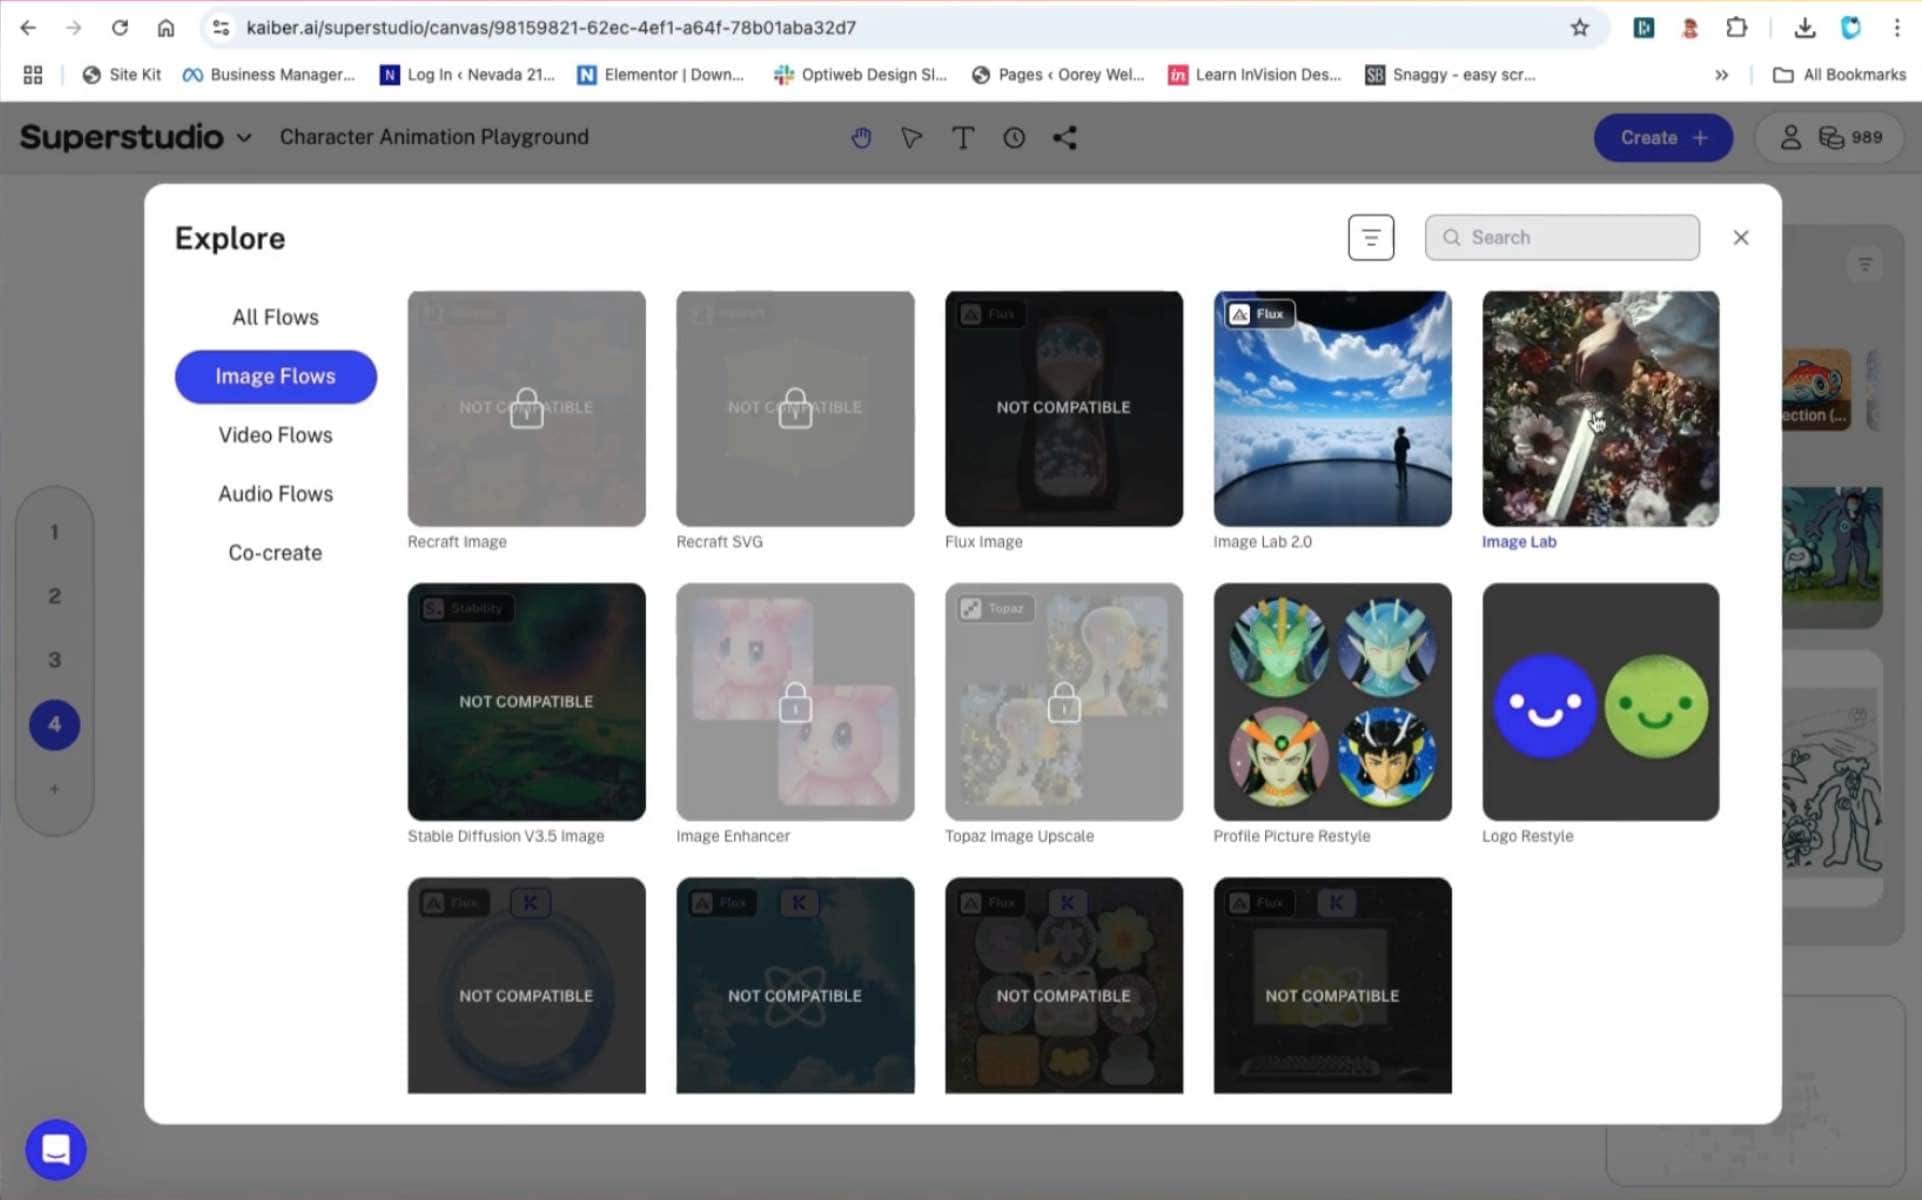
Step 4: Stylize Your Drawing with Image Lab
- Use “Image Flow”:
- Select your uploaded image.
- Click “use in flow”
- Select “image flows”
- Add “Image Lab”:
- Choose the “Image Lab” model from the available options and add it to your canvas.
- Add a Stencil:
- Within the Image lab portion of the flow, select “add element”
- Select “stencil”
- Drag and Drop:
- Drag your uploaded image into the “stencil” section of the Image Lab flow.
- Remove the image from the “image upload” section of the image lab flow, as the stencil will be used.
- Add Aesthetic Prompt:
- In the “aesthetic prompt” field, choose a style or add your own description of the desired aesthetic effect (e.g., “cartoon style,” “watercolor”).
- Add Subject Prompt:
- In the “subject” field, describe what you want the image to depict (e.g., “smiling monsters”).
- Generate the Stylized Image:
- Click the “generate” button.
- This will use one credit.
- Review the generated stylized image.
Step 5: Animate Your Stylized Image with Runway Video
- Use “Video Flow”:
- Select the stylized image.
- Select “video flows”.
- Add “Runway Video”:
- Choose the “Runway Video” model and add it to your canvas.
- Set the Start Keyframe:
- Ensure your stylized image is in the “start keyframe” section.
- Add Subject Prompt for Animation:
- In the “subject” field, describe the desired animation (e.g., “dancing monsters”).
- Adjust Video Details (Optional):
- Change the video size (e.g., YouTube, TikTok).
- Adjust the video length (e.g., 5 seconds, 10 seconds).
- Generate the Animation:
- Click the “generate” button.
- Note that this will cost credits (e.g., 25 credits for a 5-second video).
- Review the Animation:
- Once the animation is generated, review the results.
Step 6: Final Review and Enjoy
- Observe the Results:
- Pay attention to how the line drawing has been transformed and animated.
- Notice any stylistic effects or unique animation characteristics.
Tips:
- Experiment with different aesthetic and subject prompts to achieve various results.
- Adjust the video details to customize your animation.
- Check the video description for a link to a workflow guide.
- If you are new to Kaiber, check these YouTube Videos:
Related Topics:
- Kaiber AI Reactive Audio Video
- How to Use LoRA in Kaiber AI
- How to Chain Prompts in Kaiber AI: Step-by-Step Guide
- Using Advanced Tools in Kaiber Superstudio: A Step-by-Step Guide
- The Inner Workings of Kaiber AI: How Diffusion Models Transform Videos
- Introduction to Using Kaiber AI and Text Prompts
- How to Use Kaiber Superstudio to Transform Art into Animation
- How to Use Kaiber AI to Transform Your Art into Animation
- Animate Your Drawings with Kaiber SuperStudio Tutorial
- What are the main differences between Kaiber Legacy and Superstudio?
Conclusion
Congratulations, you’ve learned how to use Kaiber AI to transform your art into animation! If you’d like more tips and tricks, check the video description and stay tuned for more tutorials. Thanks for reading, and happy animating!
Disclaimer: This article contains affiliate links. If you make a purchase, I earn a small commission at no extra cost to you.