
In this tutorial, we’re diving into Descript, an innovative video and audio editing software. If you’ve ever struggled with zooming in on a scene within Descript, you’re not alone. We faced the same challenge initially, but after some trial and error, we’ve figured it out! This blog post breaks down the process into simple steps to help you master the Descript zoom tool.
Table of Contents
Understanding the Descript Workspace
Descript makes editing a breeze, but first, let’s familiarize ourselves with the workspace:
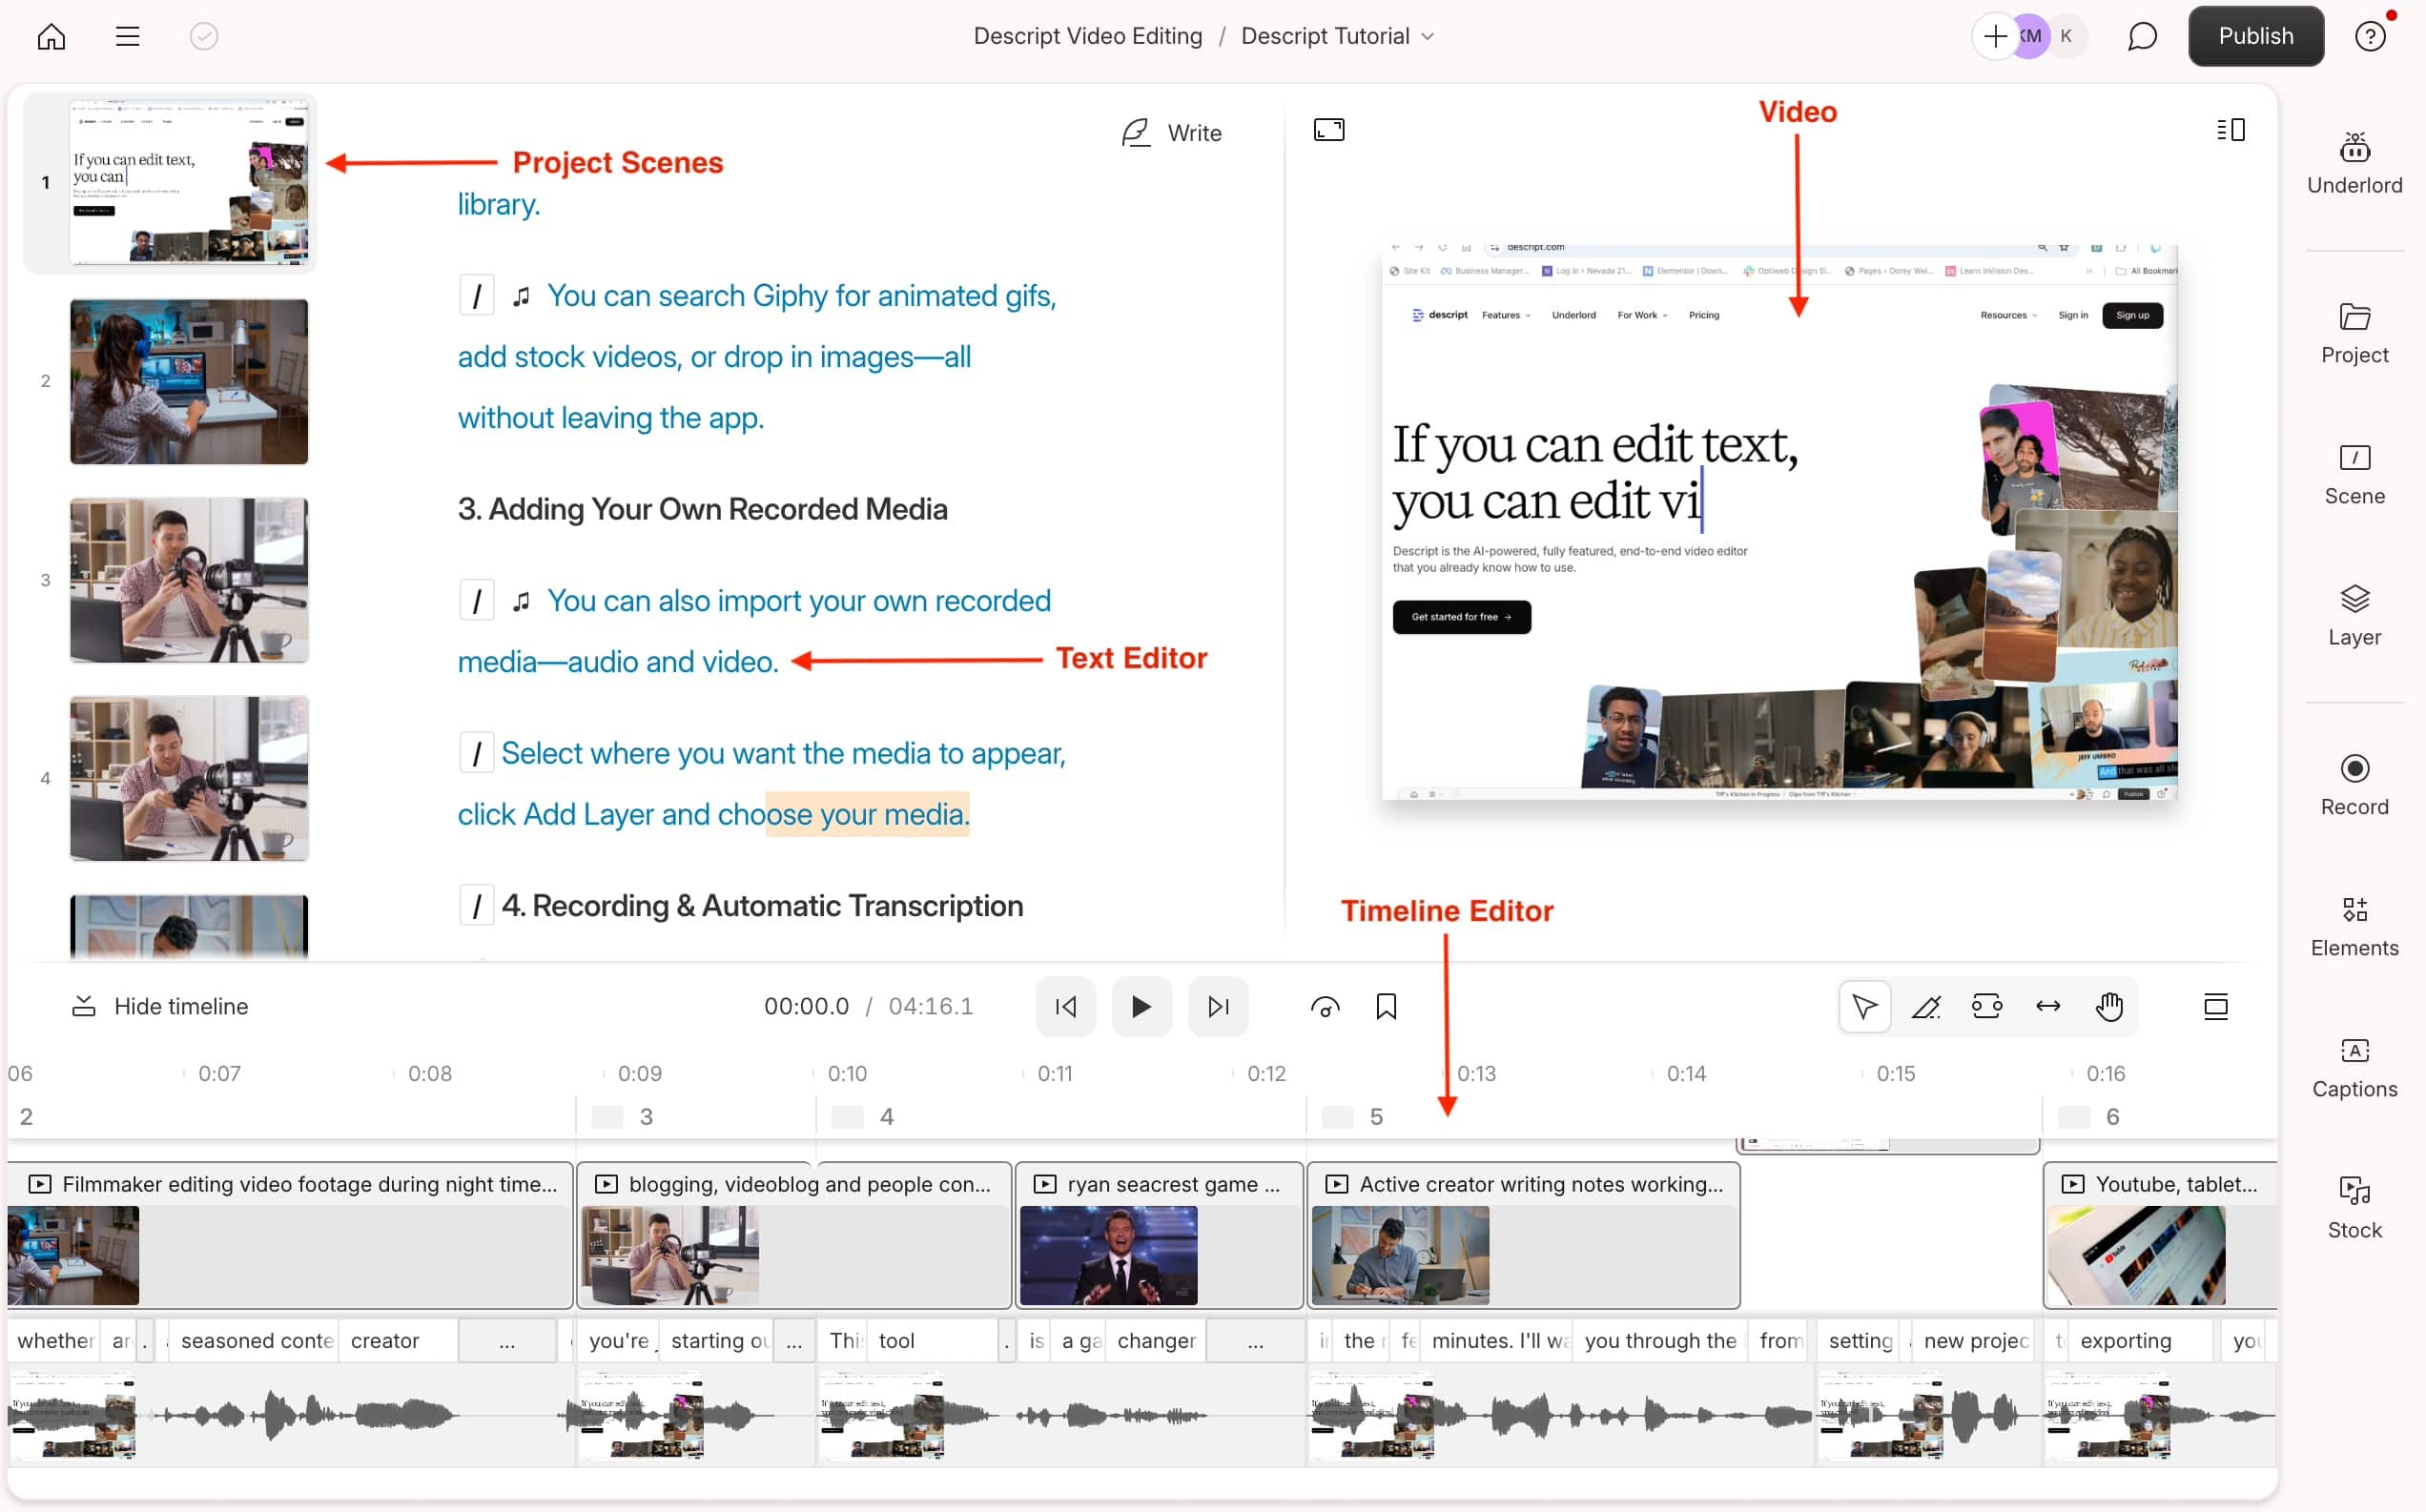
- On the left, you’ll find all your project scenes.
- Your text editor is next to those scenes, allowing you to write scripts and edit your video.
- The timeline panel below the text editor shows your current scene’s video layers, audio layers, and script.
- Controls and tasks are conveniently located within your workspace for easy navigation.
- Sign up to create a free Descript account.
Step-by-Step: Using the Descript Zoom Tool
1. Choose the Scene
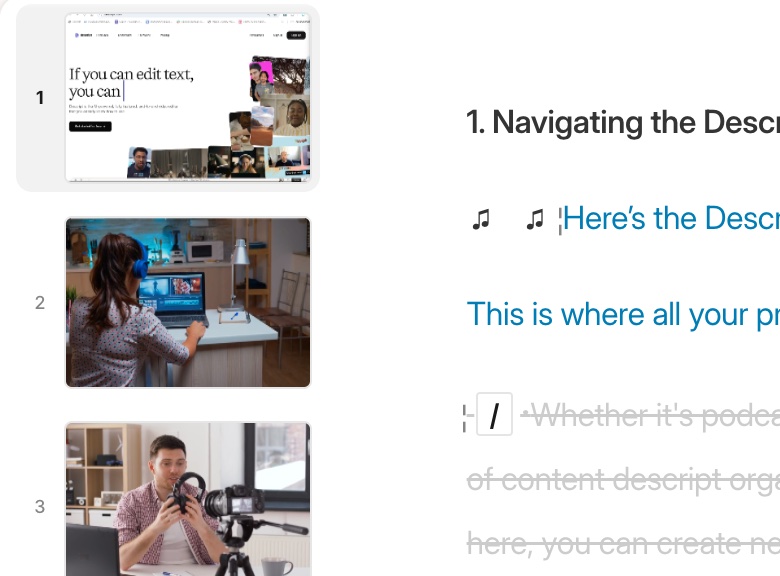
Start by scrolling through your composition on the left side and selecting the scene where you want to apply the zoom effect.
2. Toggle the Timeline
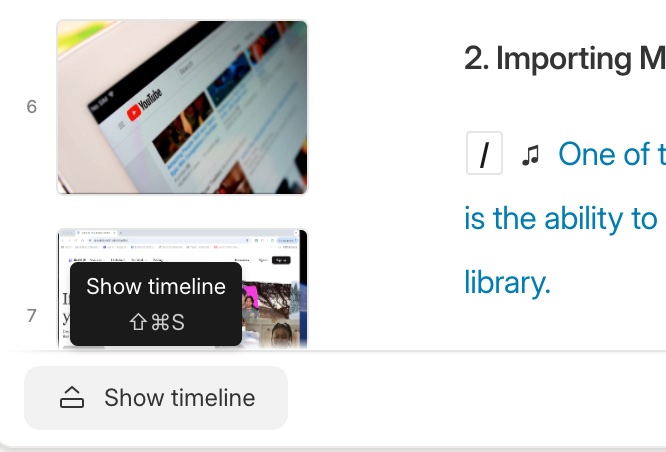
Make sure your timeline is visible by clicking the “show timeline” button. Expand its height for a clearer view of your layers and markers.
3. Set the Zoom Marker
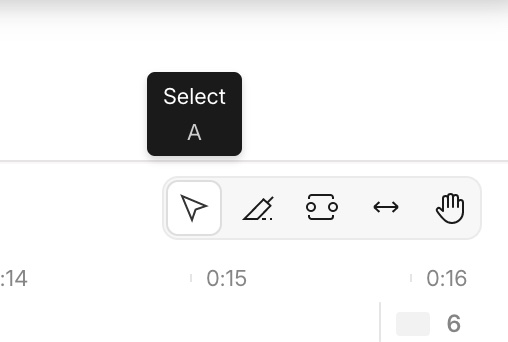
Click on the select tool, and place your marker on the timeline where you’d like the zoom to begin. You may need to orient your video on top to the Stacked or Side by Side view for better visual context.
4. Selecting the Layer
Move to the right panel, click on “Layer”, and scroll down to find the “animation” section.
5. Adding Animation
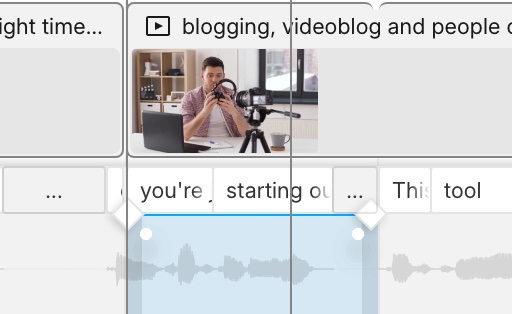
Click the plus button under animation and select “Custom.” This action will place two diamond markers on your timeline, indicating the start and end of your animation.
6. Configuring the Zoom
Decide the duration of your zoom. Shorten or extend the distance between the diamonds on the timeline for a faster or slower zoom. For a quick zoom, place them closer together. For a longer zoom, space them apart farther.
7. Adjusting Size and Position
Select the end point of the animation and modify the video layer’s size:
- Increase the width and height for zooming in.
- Ensure the “lock” icon is checked to maintain proportional sizes.
- For a dramatic zoom, input a significantly larger size like 6,000 pixels in width.
8. Fine-Tuning the Zoom
To edit your animation:
- Click on the keyframe icons on the timeline.
- Adjust the diamonds to change the zoom timing.
- Modify the easing for added or reduced flourish to the zoom motion.
Try out different easing options to find the one that suits your style best—whether a straightforward zoom or a dynamic movement.
Conclusion
Using Descript’s zoom tool may have been tricky at first, but with these step-by-step instructions, you’ll find it intuitive and useful for enhancing your video projects. Descript provides an array of features that make it a powerful tool for video editing.
Related Tutorials:
- Read our in-depth Guide to Using Descript AI
- Descript Look Good AI Tools: Center Speakers, Fix Eye Contact, Add Green Screen
- Pro-Level Editing Tips for Descript Users
- Next-Gen Sound Sculpting: Descript AI Audio Toolkit
- How to Create Effective Prompts for Descript AI Script Writer
- How to Transform Raw Footage with Descript Video Editing Tools
- Captioning Made Simple: The Unsung Hero of Descript’s Features