Table of Contents
Descript – an audio and video editing platform – has a tool called “Studio Sound” to fix the quality of your recordings — even if you have loud background noise like an air conditioner or fan.
This Descript tutorial will guide you through how to use Studio Sound to produce professional-grade audio.
What is Descript Studio Sound?
Studio Sound uses artificial intelligence to improve your recordings.
It removes background noise, adjusts volume levels, and adds clarity to voices, making your audio sound like it was recorded in a professional studio, even if it wasn’t.
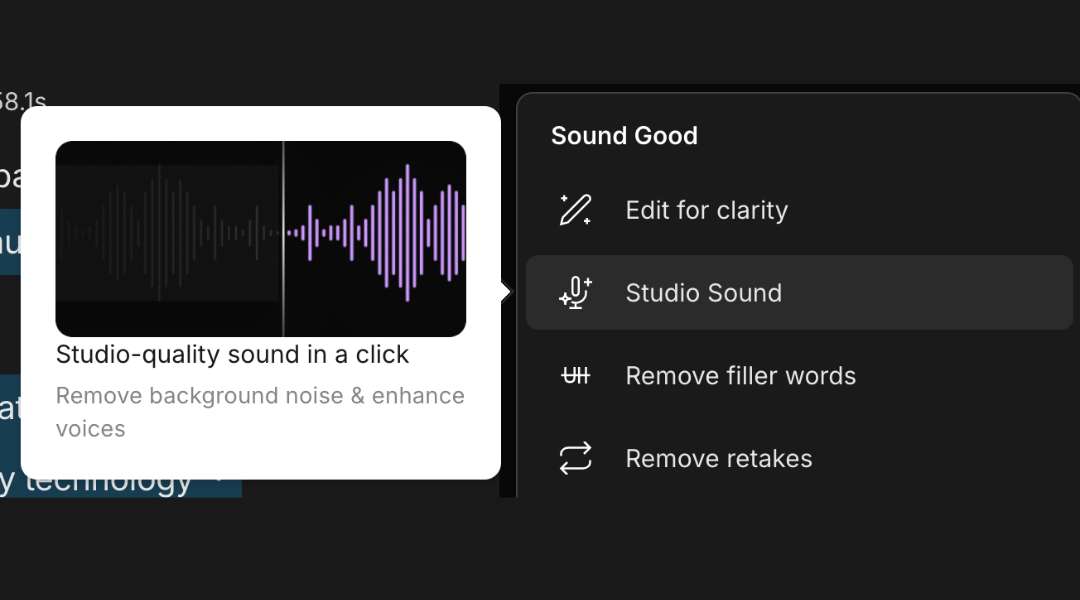
Why Use Studio Sound?
Studio Sound saves you time in post-production, so that you can focus on content creation instead of hours spent trying to improve your audio quality.
Key benefits include:
- Noise Reduction: Removes unwanted background sounds like air conditioning, street noise, or static.
- Voice Enhancement: Increases clarity and presence of your voice, so that you sound crisp and clear.
- Consistency: Balances your volume levels, so that your audio is stays consistent.
- Get Started for Free with Descript AI
How to Use Descript Studio Sound
How to Apply Studio Sound to Recordings Made Directly in Descript
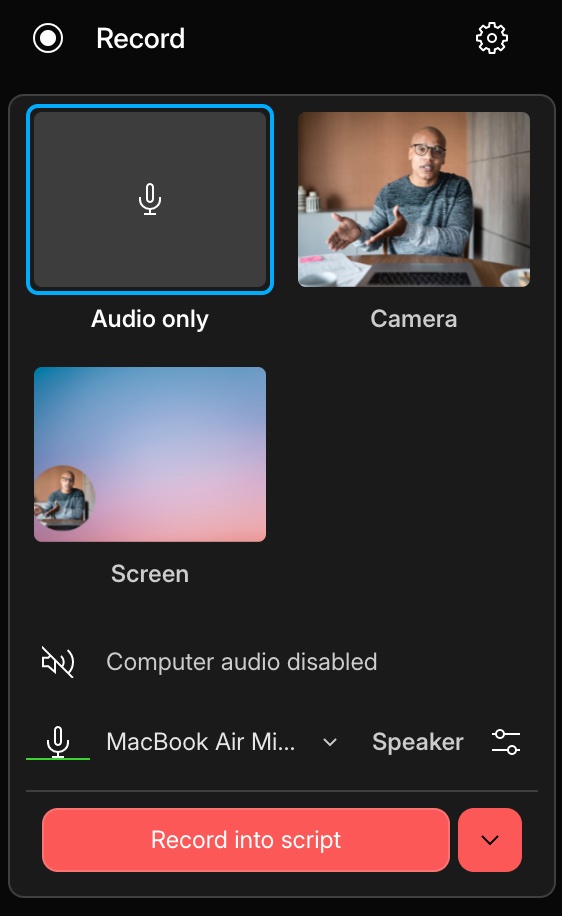
Step 1: Record Your Content
- If you’re creating a podcast or video directly in Descript, start by hitting the “Record” button in the app.
- You can choose to record audio only for podcasts, or video if you’re working on a vlog or a presentation.
Step 2: Turn On Studio Sound
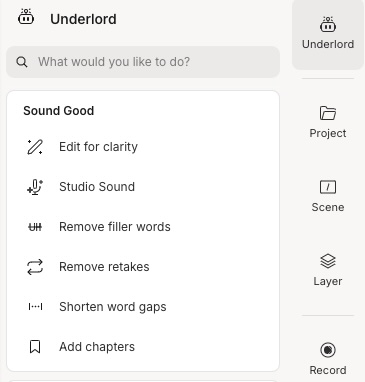
- After your recording is complete, click on Underlord in the right-hand properties panel.
- Go to the Sound Good section and turn on the Studio Sound toggle switch.
- Descript will analyze and improve your recording.

Step 3: Adjust the Settings
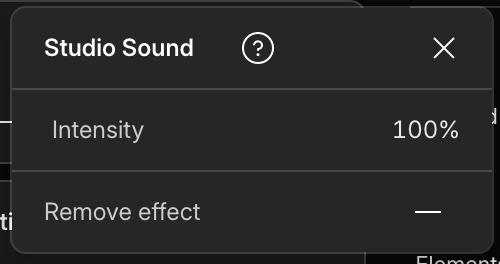
- Once Studio Sound is applied, you can use the Intensity Slider to fine-tune the effect.
- Lower the intensity if the effect is too strong, or increase it if you want more noise reduction.
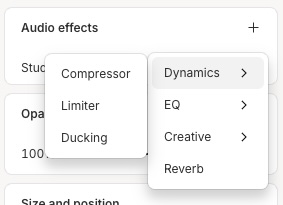
- You can also add Audio Effects like Compressor, Limiter and Ducking.
Step 4: Finalize Your Content
- Edit your recording as needed using Descript’s other tools, such as text-based editing for removing filler words or adjusting the pacing.
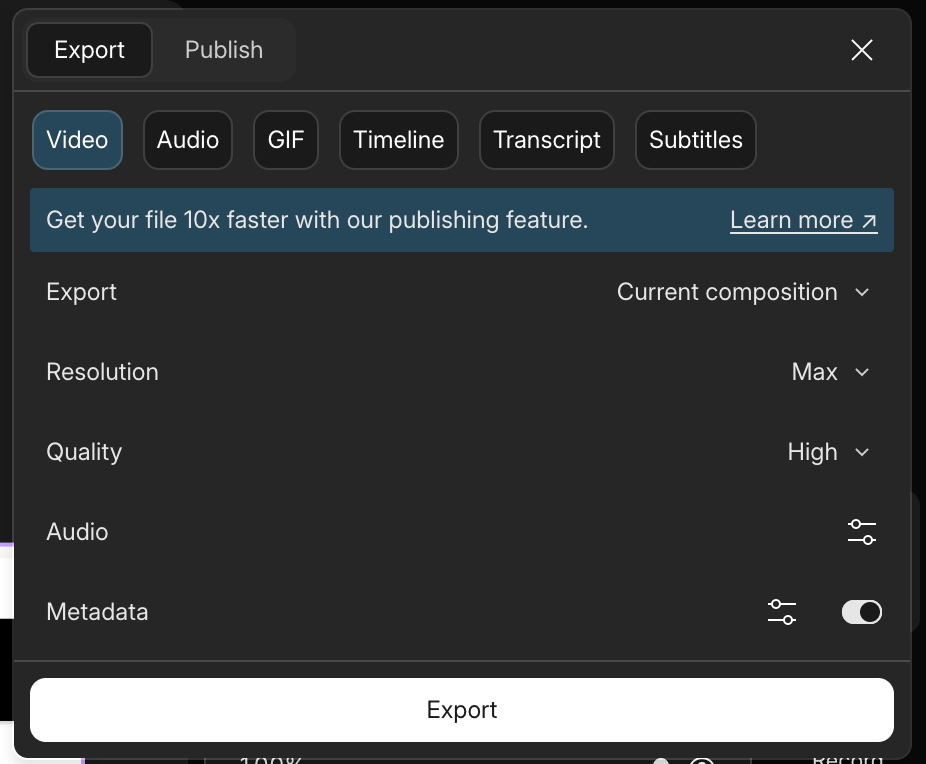
- When you’re happy with the results, click Publish to export your final work in the format of your choice.

How to Apply Studio Sound to Recordings Imported into Descript
A. Upload Media
Step 1: Upload Audio or Video Files
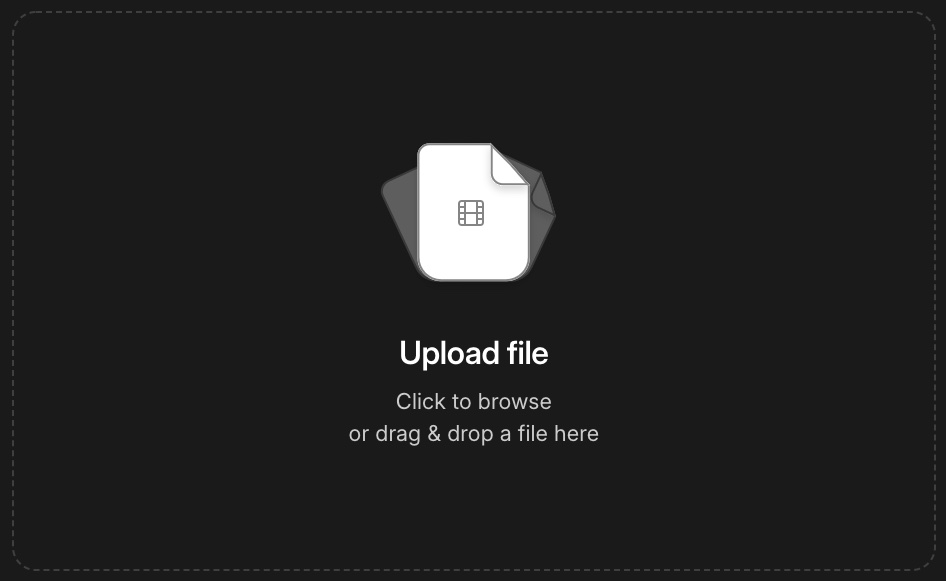
- Drag and drop your file into the Descript workspace, or use Upload to browse files on your computer.
- Descript supports a variety of audio and video formats, so you can upload most standard files.
Step 2: Apply Studio Sound
- Select the track you want to enhance and turn on the Studio Sound toggle in the properties panel.
- Descript will process the audio and automatically apply the enhancements.
Step 3: Fine-Tune Settings
- Adjust the Intensity Slider and other controls to get the desired sound quality.
- Preview the result and make sure the enhancements sound natural and effective.
Step 4: Edit and Export
- Use Descript’s editing tools to make additional adjustments if needed, then export your enhanced audio or video.
B. Import from YouTube
Descript also lets you mport audio and video from YouTube, so that it’s easy to work with content that’s already online.
Step 1: Import from YouTube
- Click File in the top menu and select New Project.
- In the project window, choose Import from YouTube and paste the YouTube URL.
- Descript will download the audio and/or video from the link.

Step 2: Apply Studio Sound
- Once the import is complete, select the audio track and enable Studio Sound.
- Descript will process and enhance the audio automatically.
Step 3: Adjust the Enhancement
- Use the Intensity Slider to control the level of enhancement.
- Make sure the enhanced audio sounds natural and doesn’t introduce any distortion.
Step 4: Edit and Export
- Edit the audio or video as needed. When you’re happy with the result, export your enhanced content.
C. Import from Zoom
Zoom recordings often come with background noise and inconsistent audio quality, making Studio Sound particularly useful.
Step 1: Import Your Zoom Recording
- Export your Zoom meeting recording as a .mp4 or .m4a file, and then import it into Descript by dragging and dropping or using the “Import” button.

Step 2: Apply Studio Sound
- Select the audio track and enable Studio Sound in the properties panel.
- Descript will process the recording to enhance clarity and reduce background noise.
Step 3: Adjust Settings for Best Results
- Use the Intensity Slider to find the right balance.
- Zoom recordings can vary greatly in quality, so you may need to experiment with the settings to get the best result.
Tips for Getting the Best Results
- Use High-Quality Source Audio: While Studio Sound can work wonders, starting with the best possible recording will always yield better results.
- Avoid Over-Processing: Applying too much enhancement can make the audio sound unnatural. Use the intensity slider to find a balance.
- Combine with Other Descript Tools: Descript offers various editing tools like Overdub and video editing features. Use these in conjunction with Studio Sound for a polished final product.
Studio Sound Limitations
- Free users can apply Studio Sound to files up to 10 minutes long.
- Creator users can enhance files up to 60 minutes in length.
- Pro users can apply Studio Sound to files of any length, though extremely large files may require splitting.
Why Descript for Audio Editing?
Descript stands out as an all-in-one tool that simplifies complex editing tasks. It’s not just about audio enhancements; it’s also about making the entire editing process intuitive.
Features like screen recording, AI-powered editing, and seamless integrations make it a go-to tool for content creators looking to streamline their workflow. You can even use Descript to Create a Virtual Co-Host for Podcast.
Additional Resources
For those who want to dive deeper into Descript and its capabilities, check out these resources:
- Descript Official Documentation
- Podcast Editing with Descript
- Complete Guide to Podcasting
- Top Tools for Video Editing
- Comprehensive Audio Editing Guide
Final Thoughts
Descript’s Studio Sound is a game-changer for creators looking to produce high-quality audio without investing in expensive equipment or software.
By following this tutorial, you can elevate your content and ensure your voice is heard loud and clear. Happy editing!
FAQs
Can I apply Studio Sound to a specific portion of a file?
As of now, Descript Studio Sound is applied to an entire track, not just a specific segment. This means that if you want to enhance only a portion of your audio or video file, you need to split that segment into a separate track.
What are the limitations of Studio Sound for free users?
Free users are typically limited to a set number of transcription and editing minutes per month. This includes the use of Studio Sound. Once these minutes are used up, you’ll need to upgrade to a paid plan to continue using the feature.
Can I use Studio Sound while recording live?
Currently, Studio Sound cannot be applied in real-time while recording. It is a post-production feature, meaning you can only apply it after the re.cording has been completed and imported into Descript.
Disclaimer: This article may contain affiliate links. If you make a purchase through these links, I may earn a commission at no additional cost to you. Your support helps me continue to create valuable content.