Descript’s screen recording offers an easy way to capture, edit, and share videos all in one platform.
In this guide, we’ll show you how to use Descript to create professional screen recordings in just a few steps.
Table of Contents
What is Descript Screen Recording?
Descript’s screen recording feature allows you to capture your screen while recording audio and video, making it a great tool for creating videos for tutorials, presentations, product demos, or online courses.
This feature enables users to record their screen and easily edit the recording afterward using the platform’s powerful text-based editing tools.
Key Features of Descript Screen Recording:
Simultaneous Screen and Audio Recording: You can record your screen, along with your microphone or system audio, allowing you to narrate as you walk through the recording.
Webcam Integration: Descript AI lets you include a webcam recording alongside your screen capture, which is useful for adding a personal touch.
Text-Based Editing: After recording, Descript automatically transcribes the audio, making it easy to edit the screen recording. You can cut sections, rearrange content, or remove filler words by editing the text.
Annotations and Captions: You can easily add captions to your screen recordings, enhancing accessibility and engagement, especially on social media or platforms where viewers watch videos without sound.
Instant Editing and Enhancements: Use Studio Sound to improve audio quality or make edits in the timeline of your final product.
Export Options: Once you’ve completed the recording and editing process, Descript allows you to export your video in various formats (MP4, GIF) to share on platforms like YouTube, social media, or embed in presentations.
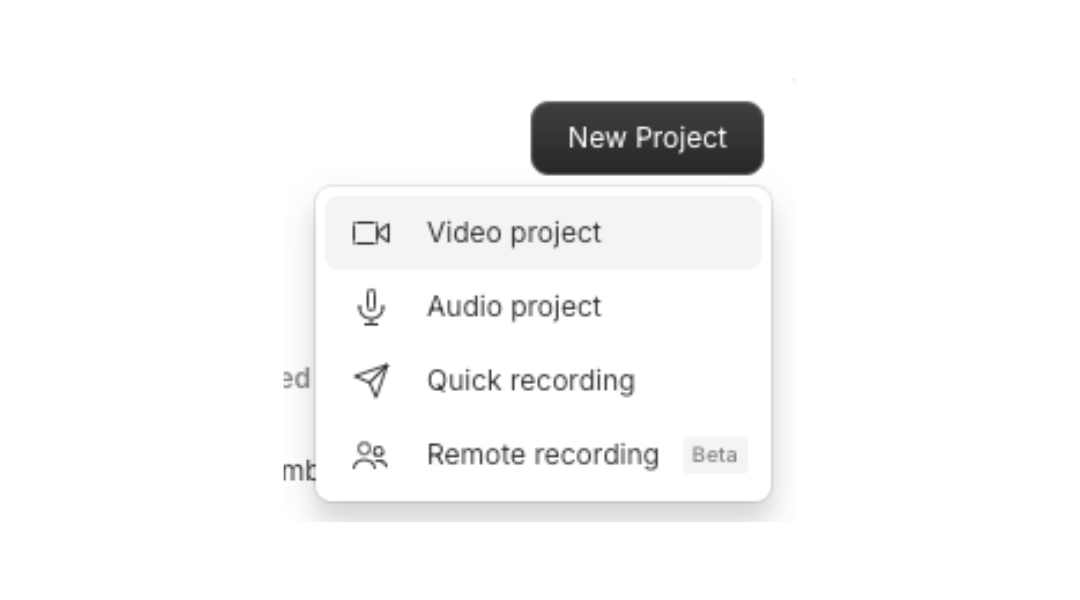
Step 1: Open Descript and click on “New Project” from the dashboard.
Step 2: Name your project (e.g., “Tutorial Video” or “Demo Recording”) and click Create to start.
2. Start a Screen Recording
Step 1: Once inside your project, look for the “Record” button in the top toolbar.
Step 2: Click the Record button, and a dropdown will appear with options to start a Screen Recording.
Step 3: Choose “Screen Recording” from the options to begin the setup.
Recording into Descript
3. Select What to Record
Step 1: After selecting Screen Recording, you’ll be prompted to choose what part of your screen you want to capture:
Full Screen: Capture your entire screen.
Specific Window: Record only a specific application window.
Chrome Tab: Record a specific tab in your web browser (ideal for web demos or presentations).
Step 2: Select your preferred recording option and click Share.
Descript Screen Recording
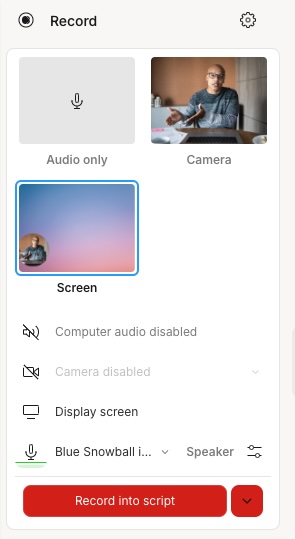
4. Enable or Disable Webcam and Microphone
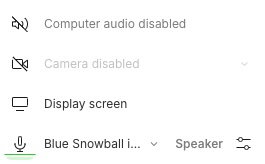
Step 1: Descript allows you to record your webcam and audio along with your screen. Before starting the recording, you’ll see options to:
Enable or disable the microphone.
Enable or disable the webcam to capture your video.
Step 2: Toggle the microphone and webcam options based on your preferences.
Descript Webcam and Microphone Settings
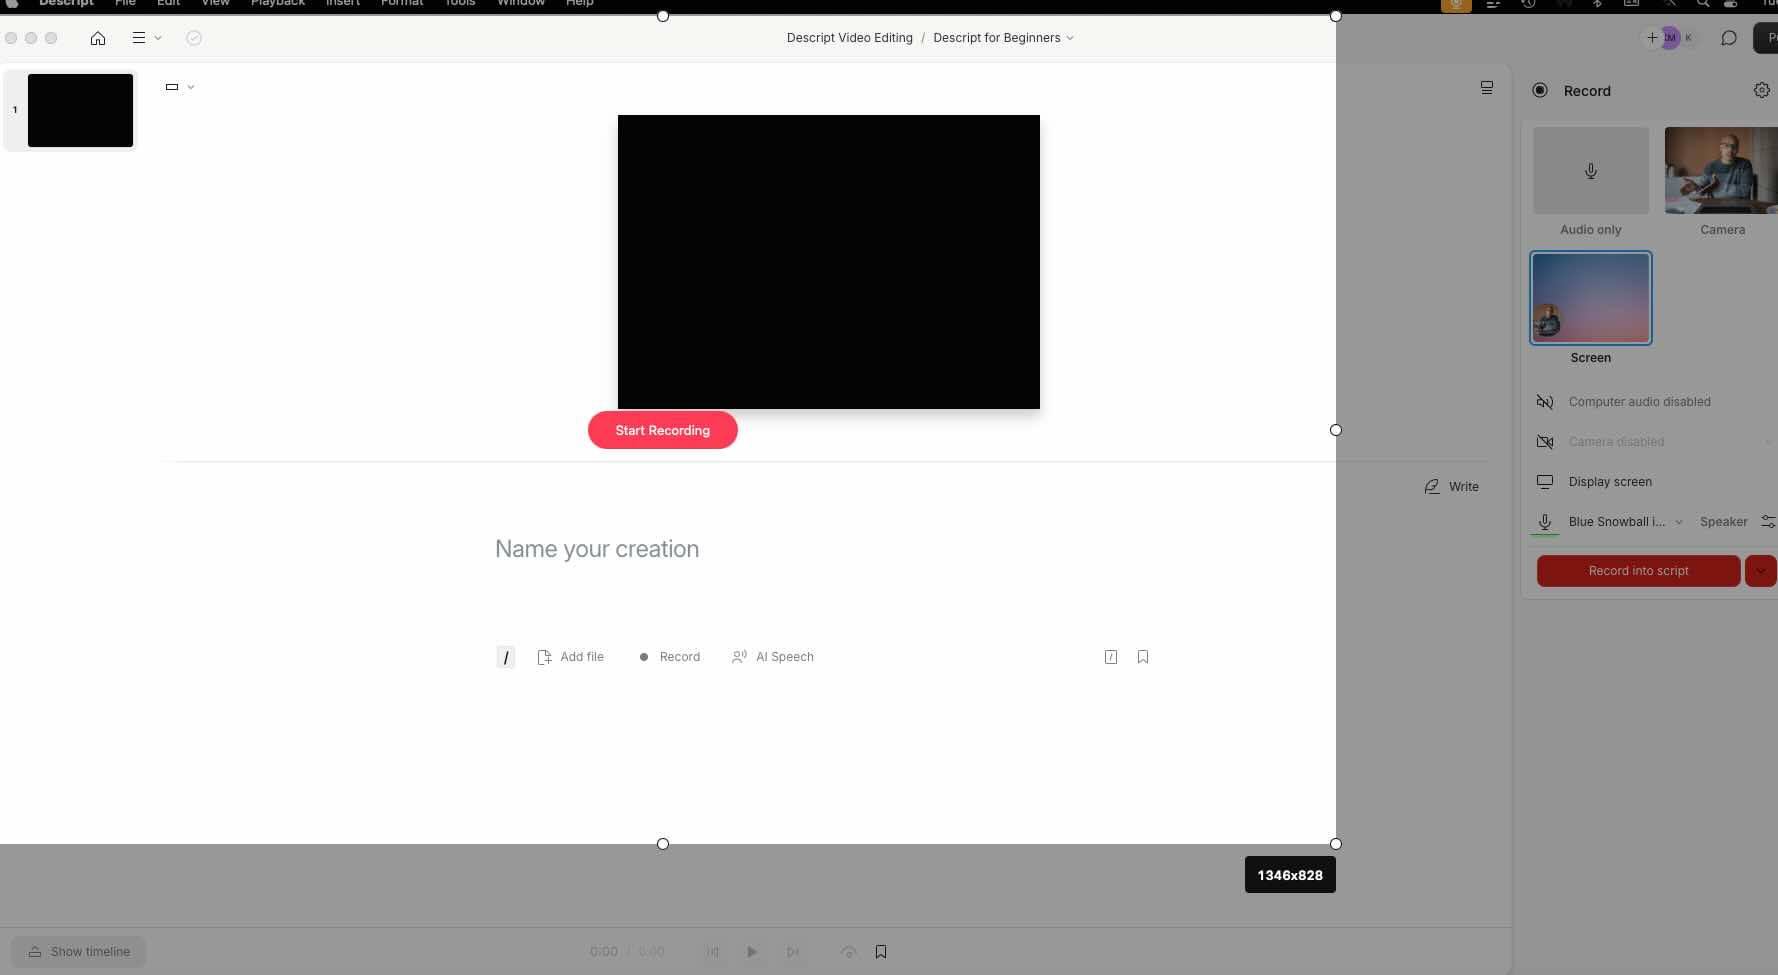
5. Start Recording
Step 1: Once everything is set, click the “Record” button to begin your screen recording.
Step 2: While recording, Descript will capture everything on the selected part of your screen, along with any audio or webcam footage you’ve chosen to include.
6. Stop the Recording
Step 1: To stop the recording, click the Stop button in the floating recording toolbar or directly in Descript.
Step 2: Once stopped, the recording will automatically be uploaded to your project timeline for further editing.
7. Edit Your Recording
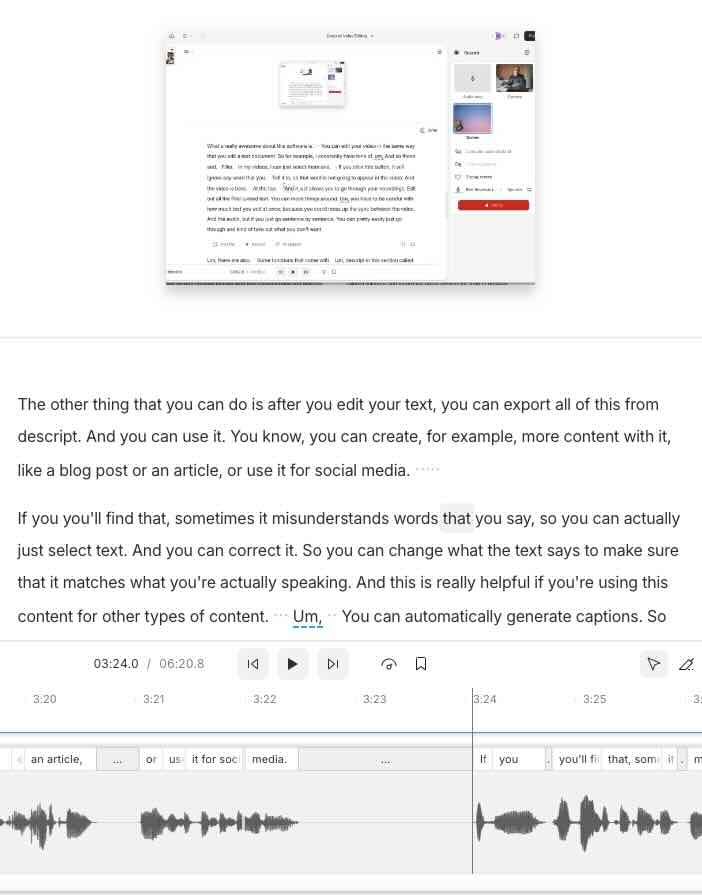
After you’ve finished recording, Descript gives you the option to edit the screen video recording using its text-based editing features.
Step 1: You’ll see a transcription of your audio alongside the video timeline. Edit the transcription to make changes to the screen recording—such as trimming sections, deleting filler words, or rearranging parts.
Step 2: You can also add captions, enhance audio using Studio Sound, or insert additional video or images.
Descript Editing Screen
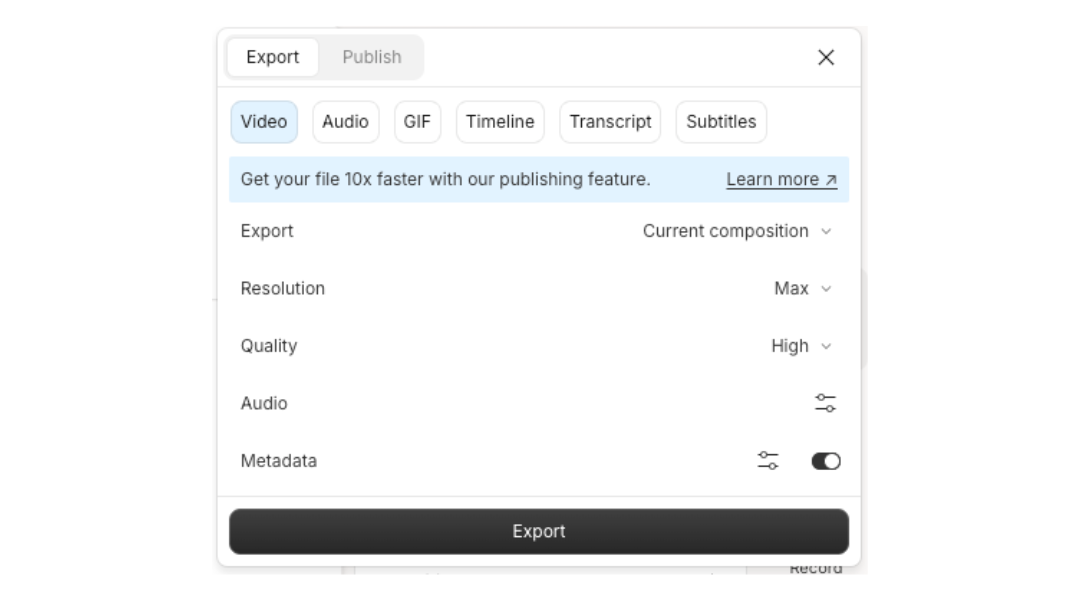
8. Export the Video
Step 1: Once your recording is edited and ready, click the Export button.
Step 2: Choose the format in which you want to export the file (e.g., MP4 for video, GIF for short clips).
Step 3: Save the file to your computer or share it directly via Descript’s sharing options.
Descript Export Panel
Tips for Effective Screen Recording in Descript
Use the Webcam: If you’re explaining something in detail, enabling the webcam can help personalize the tutorial and make it more engaging.
Trim Unnecessary Sections: After recording, use Descript’s text-based editing to easily cut out any unnecessary pauses or errors from the recording.
Add Captions: Descript automatically generates captions based on your audio transcription, making it easy to add subtitles to your screen recordings.
Conclusion
Using Descript for screen recording is a quick and intuitive way to capture and edit your screen-based content. Whether you’re creating tutorials, product demos, or presentations, the combination of easy screen capture, audio recording, and Descript’s powerful editing tools makes the process seamless.
This article may contain affiliate links. If you make a purchase through these links, I may earn a commission at no additional cost to you. Your support helps me continue to create valuable content. Thank you!